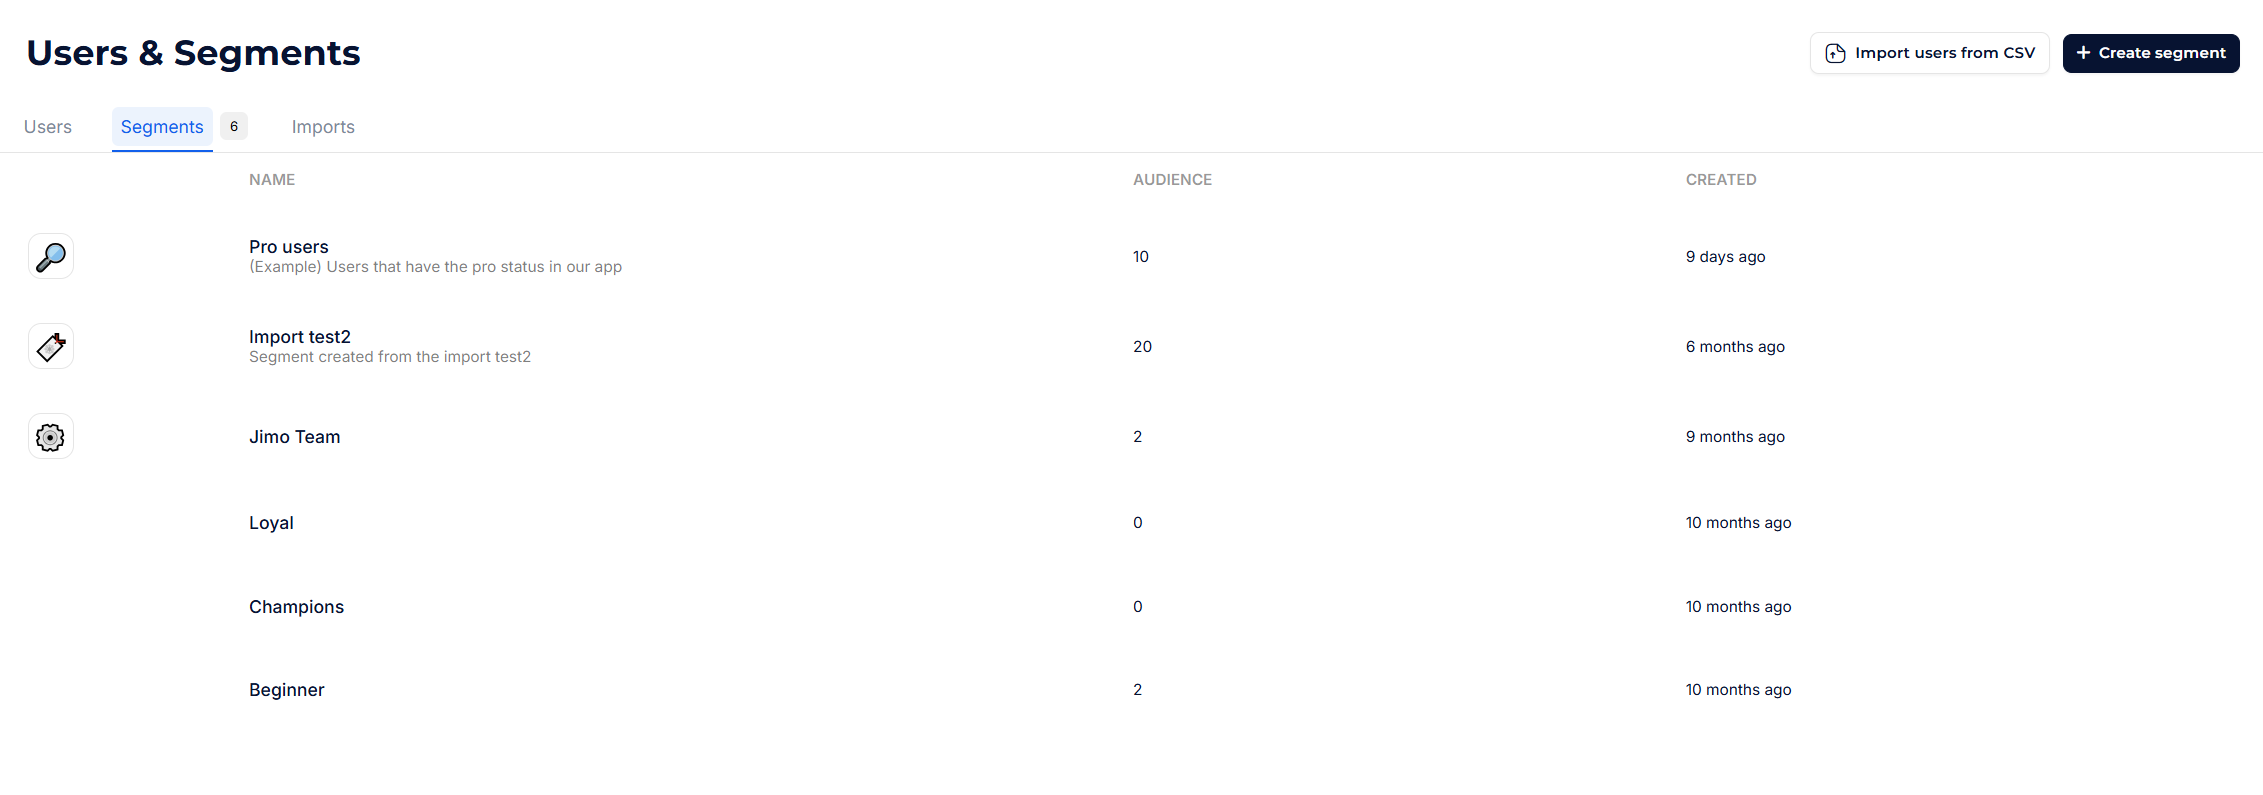
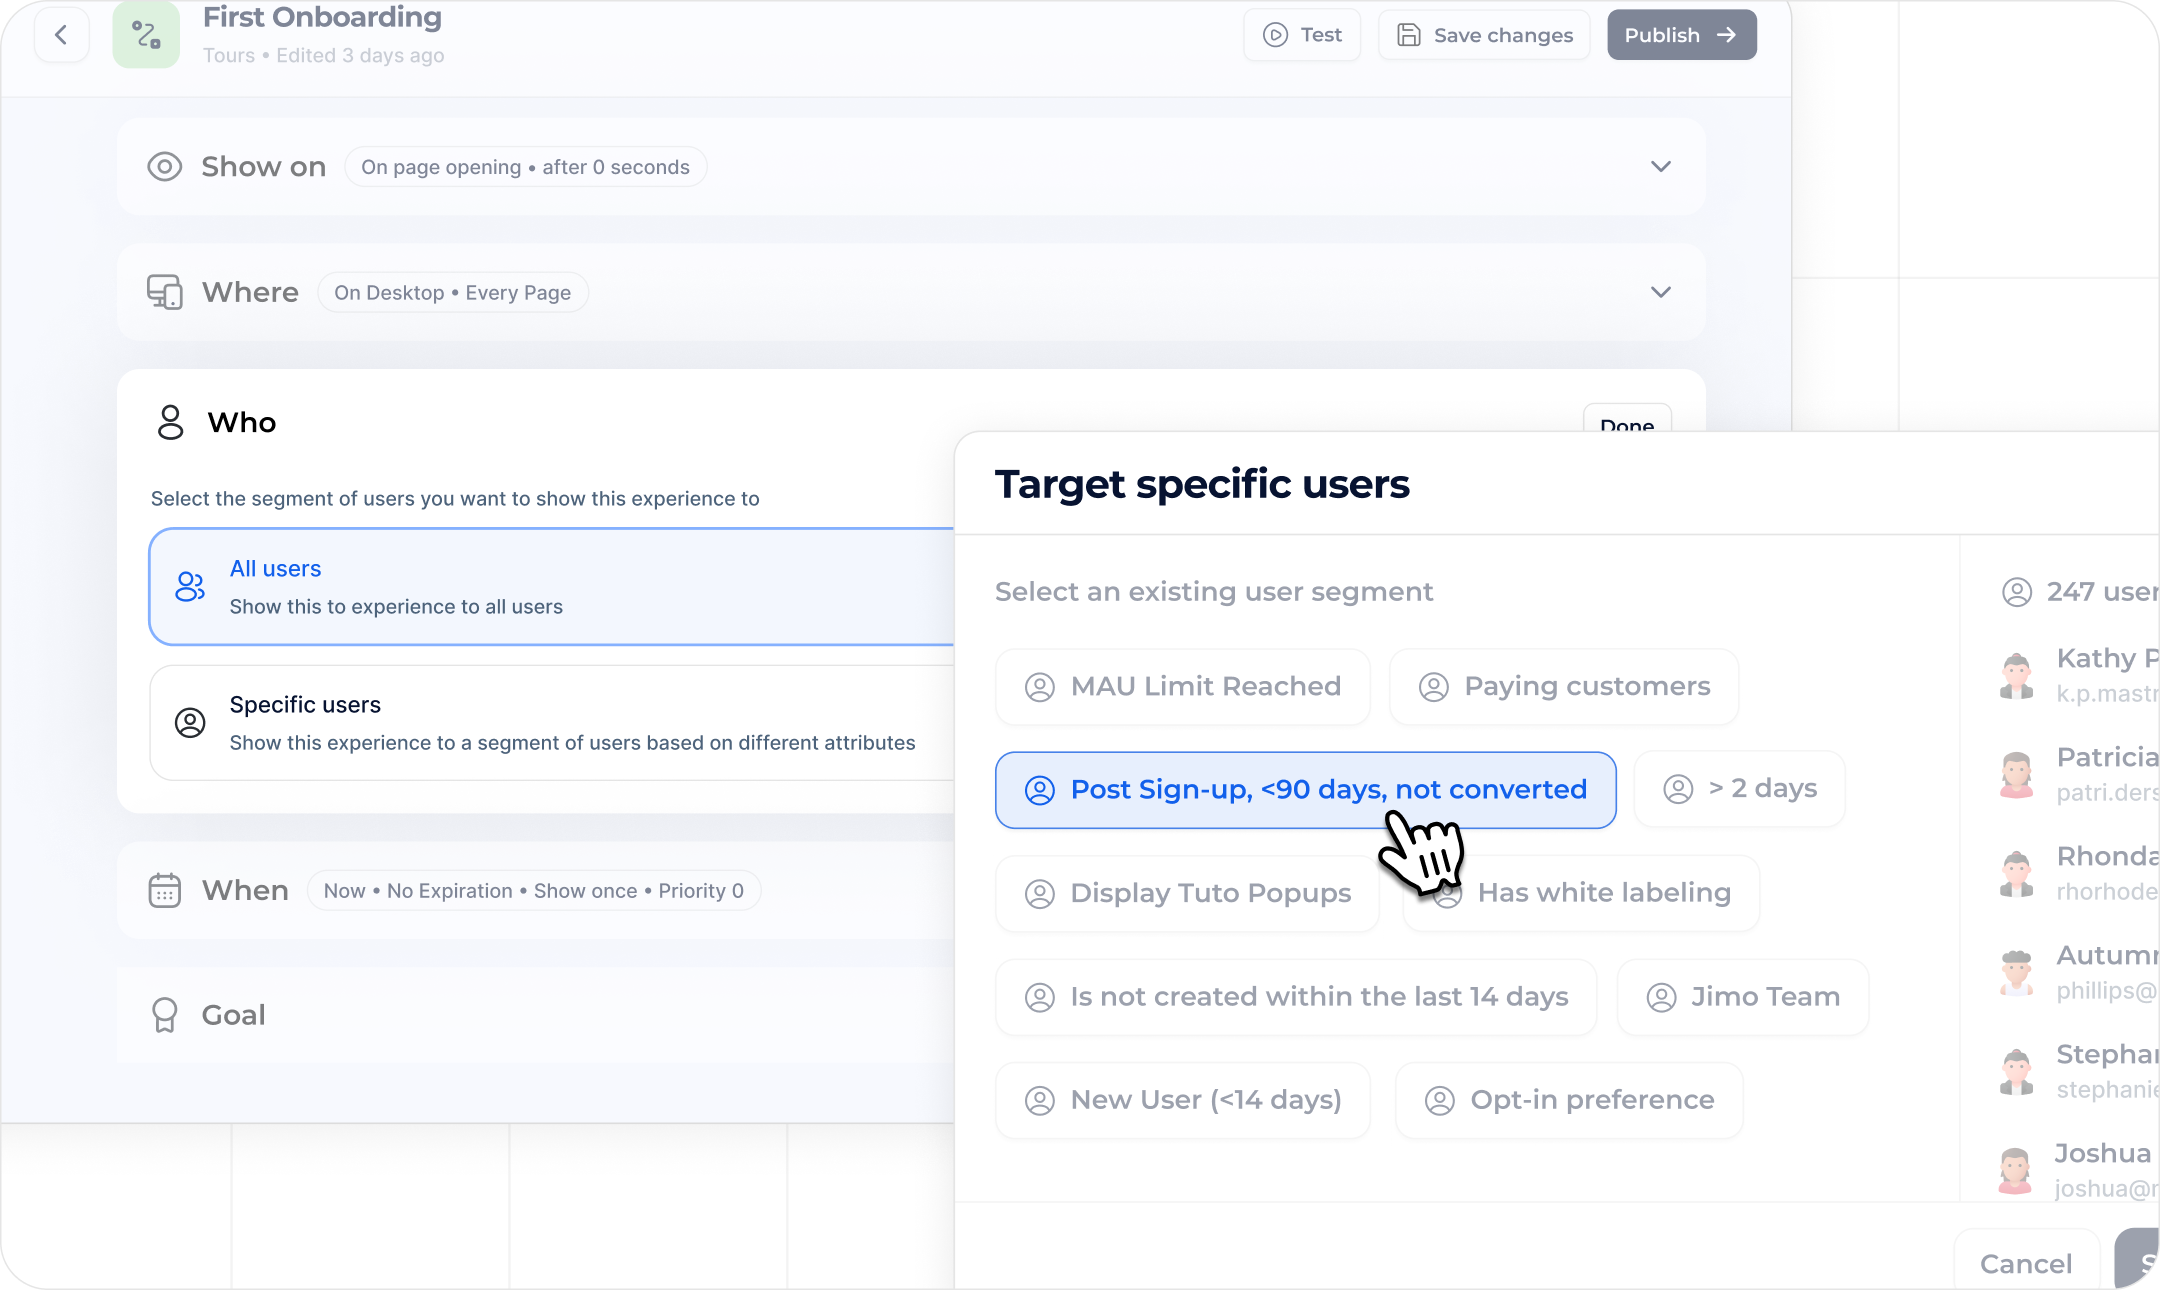
| Segments | Define Custom Attributes | ⇒ Leverage Preset Segments | Initial setup - cards thumbnails.png | #enhancing-user-management-and-targeting |
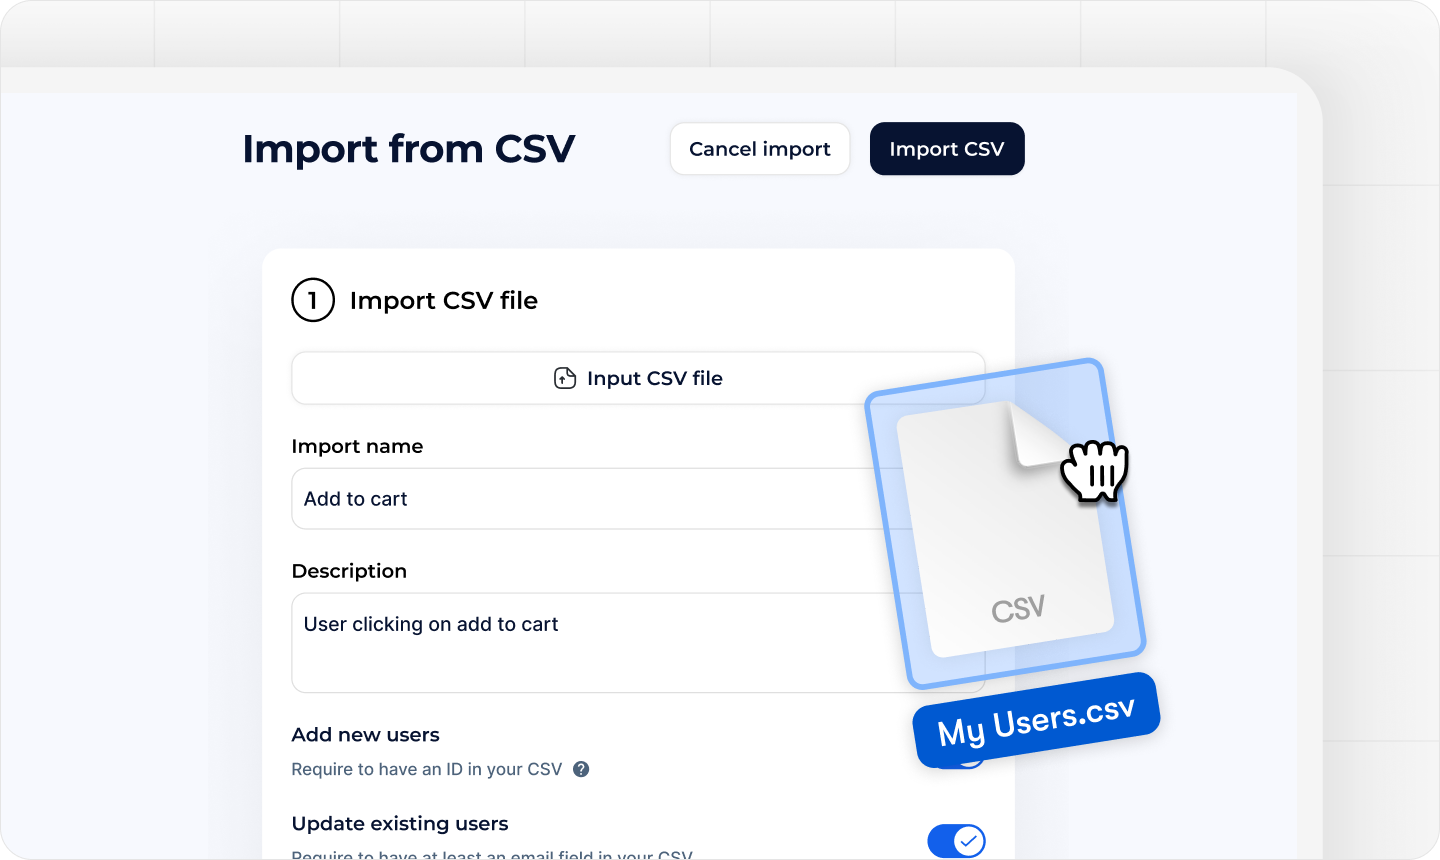
| User imports | Bulk Upload via CSV | ⇒ Ease Targeting & Testing | Initial setup - cards thumbnails2.png | #enhancing-user-management-and-targeting |
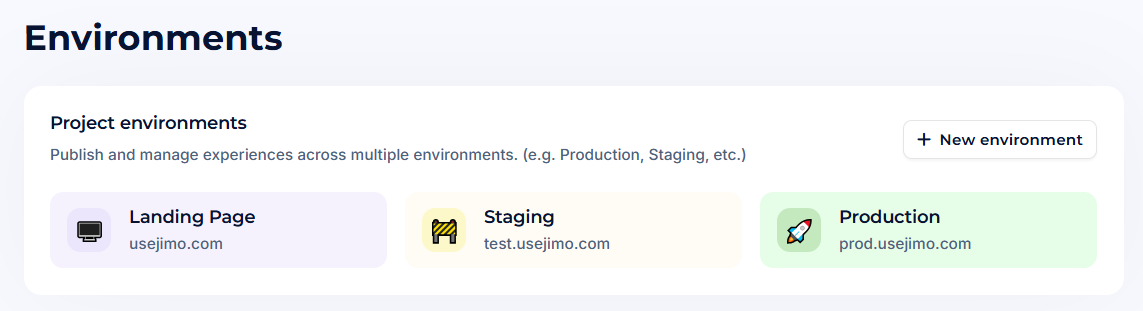
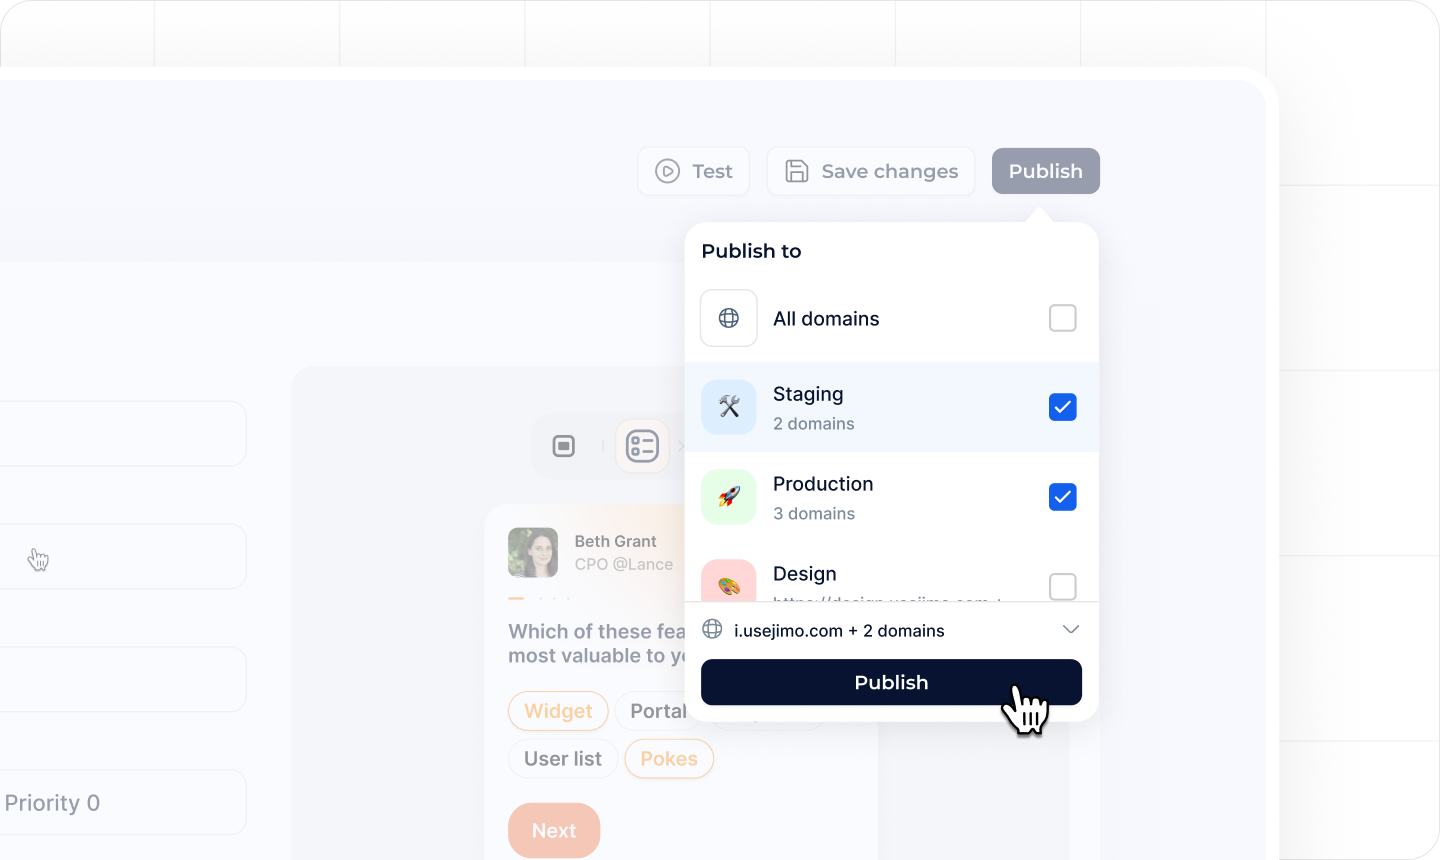
| Environments | Create Separate Domains | ⇒ Test Before Launch | Initial setup - cards thumbnails5.png | #managing-environments |
| Themes | Build a Theme Library | ⇒ Faster Creation | Initial setup - cards thumbnailsa.png | #consistent-branding-with-themes |
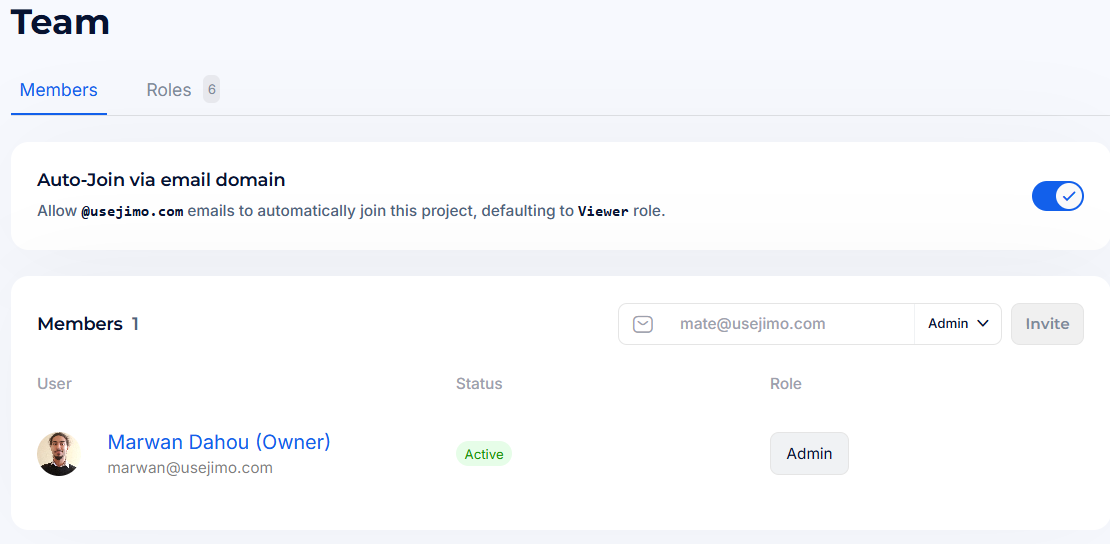
| Team | Add Team Members | ⇒ Set permissions | Initial setup - cards thumbnails3.png | #team-management-and-permissions |
| Integrations | HubSpot & More | ⇒ Save Time, Stay Updated | Initial setup - cards thumbnailsb.png | #integrations-for-automation |