| If you need… | Pick | Why |
|---|---|---|
| A guided moment with a clear completion | Sequential Flow | You control start/end, sequence, and success criteria. |
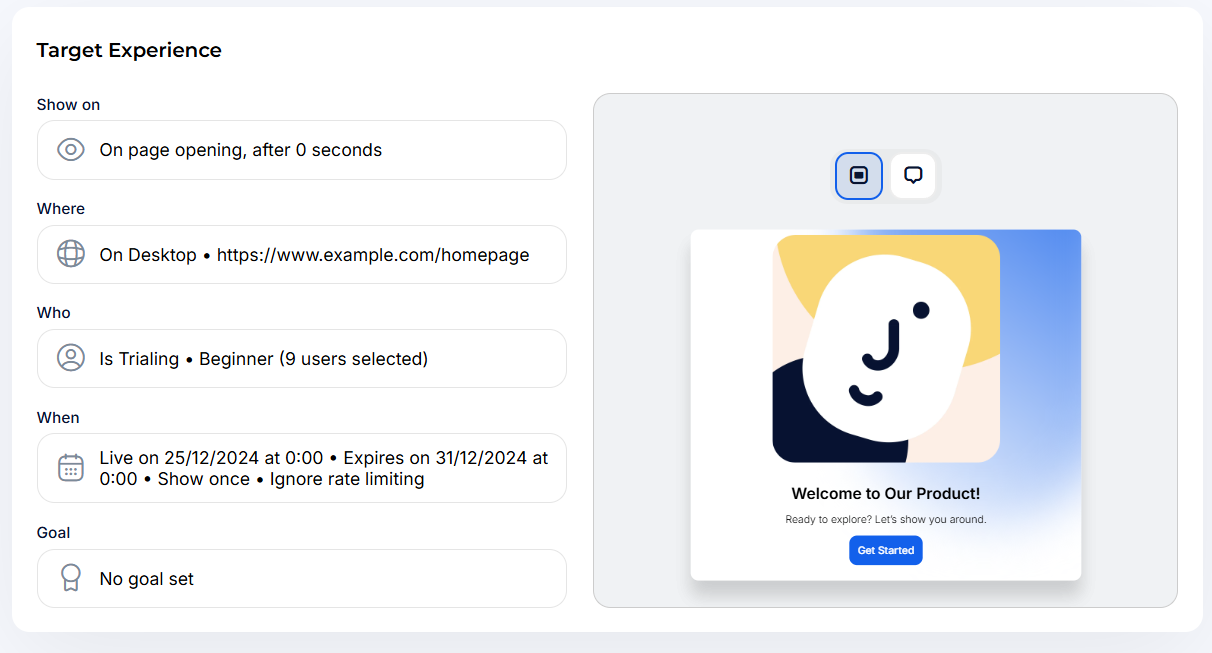
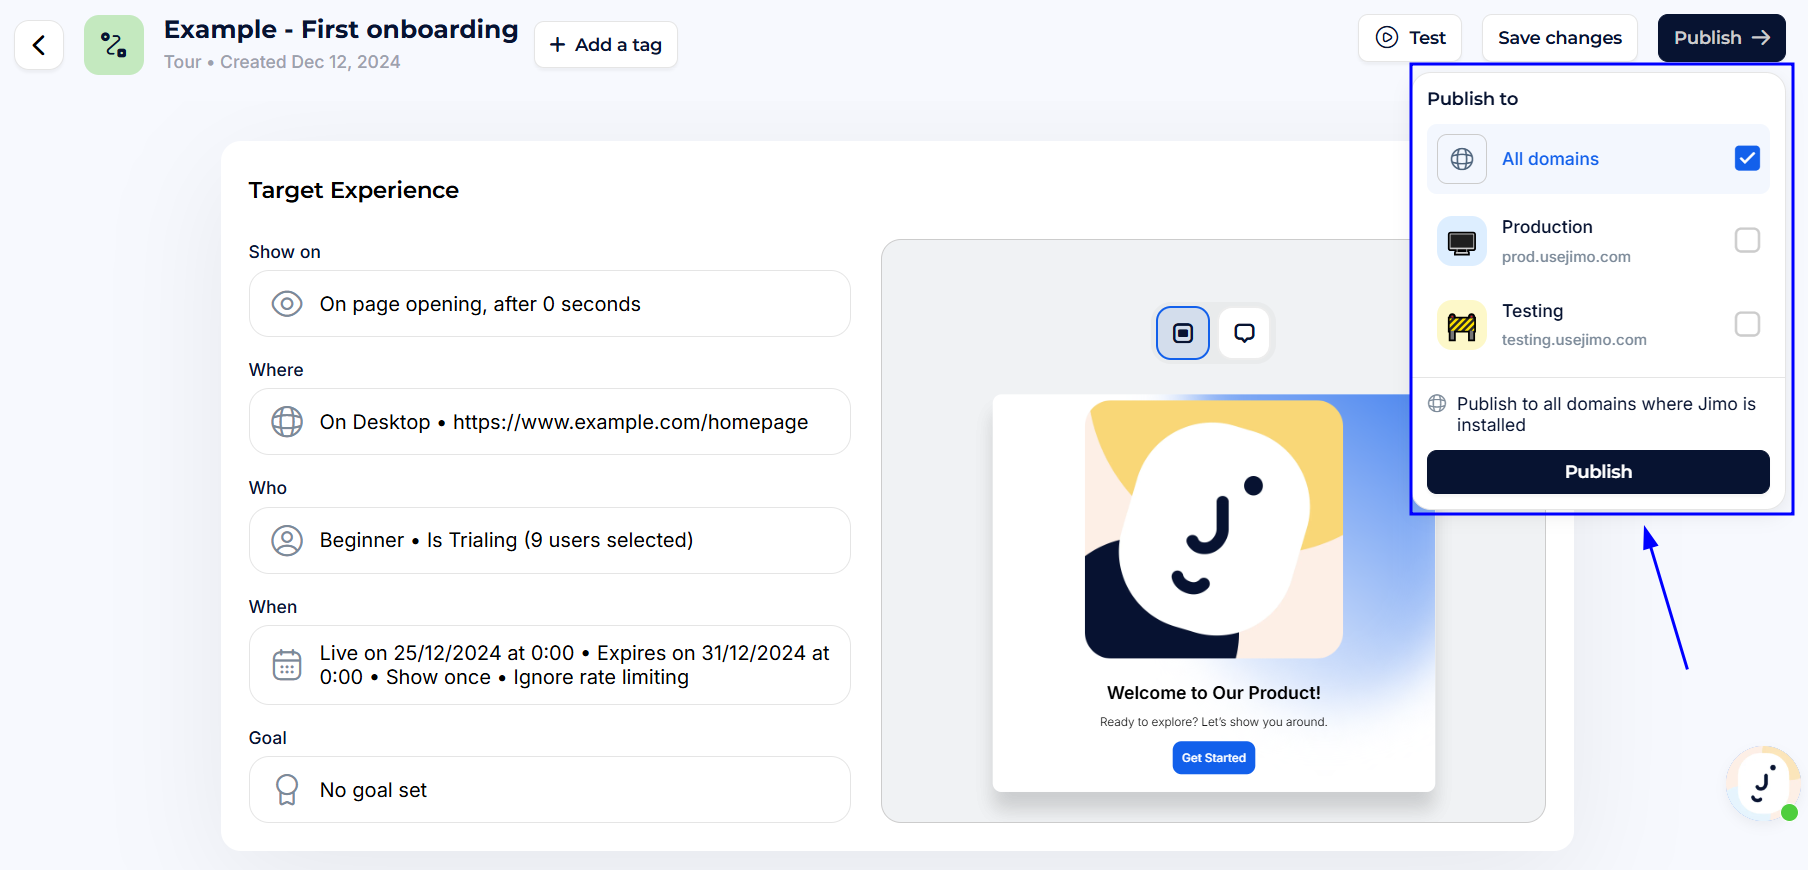
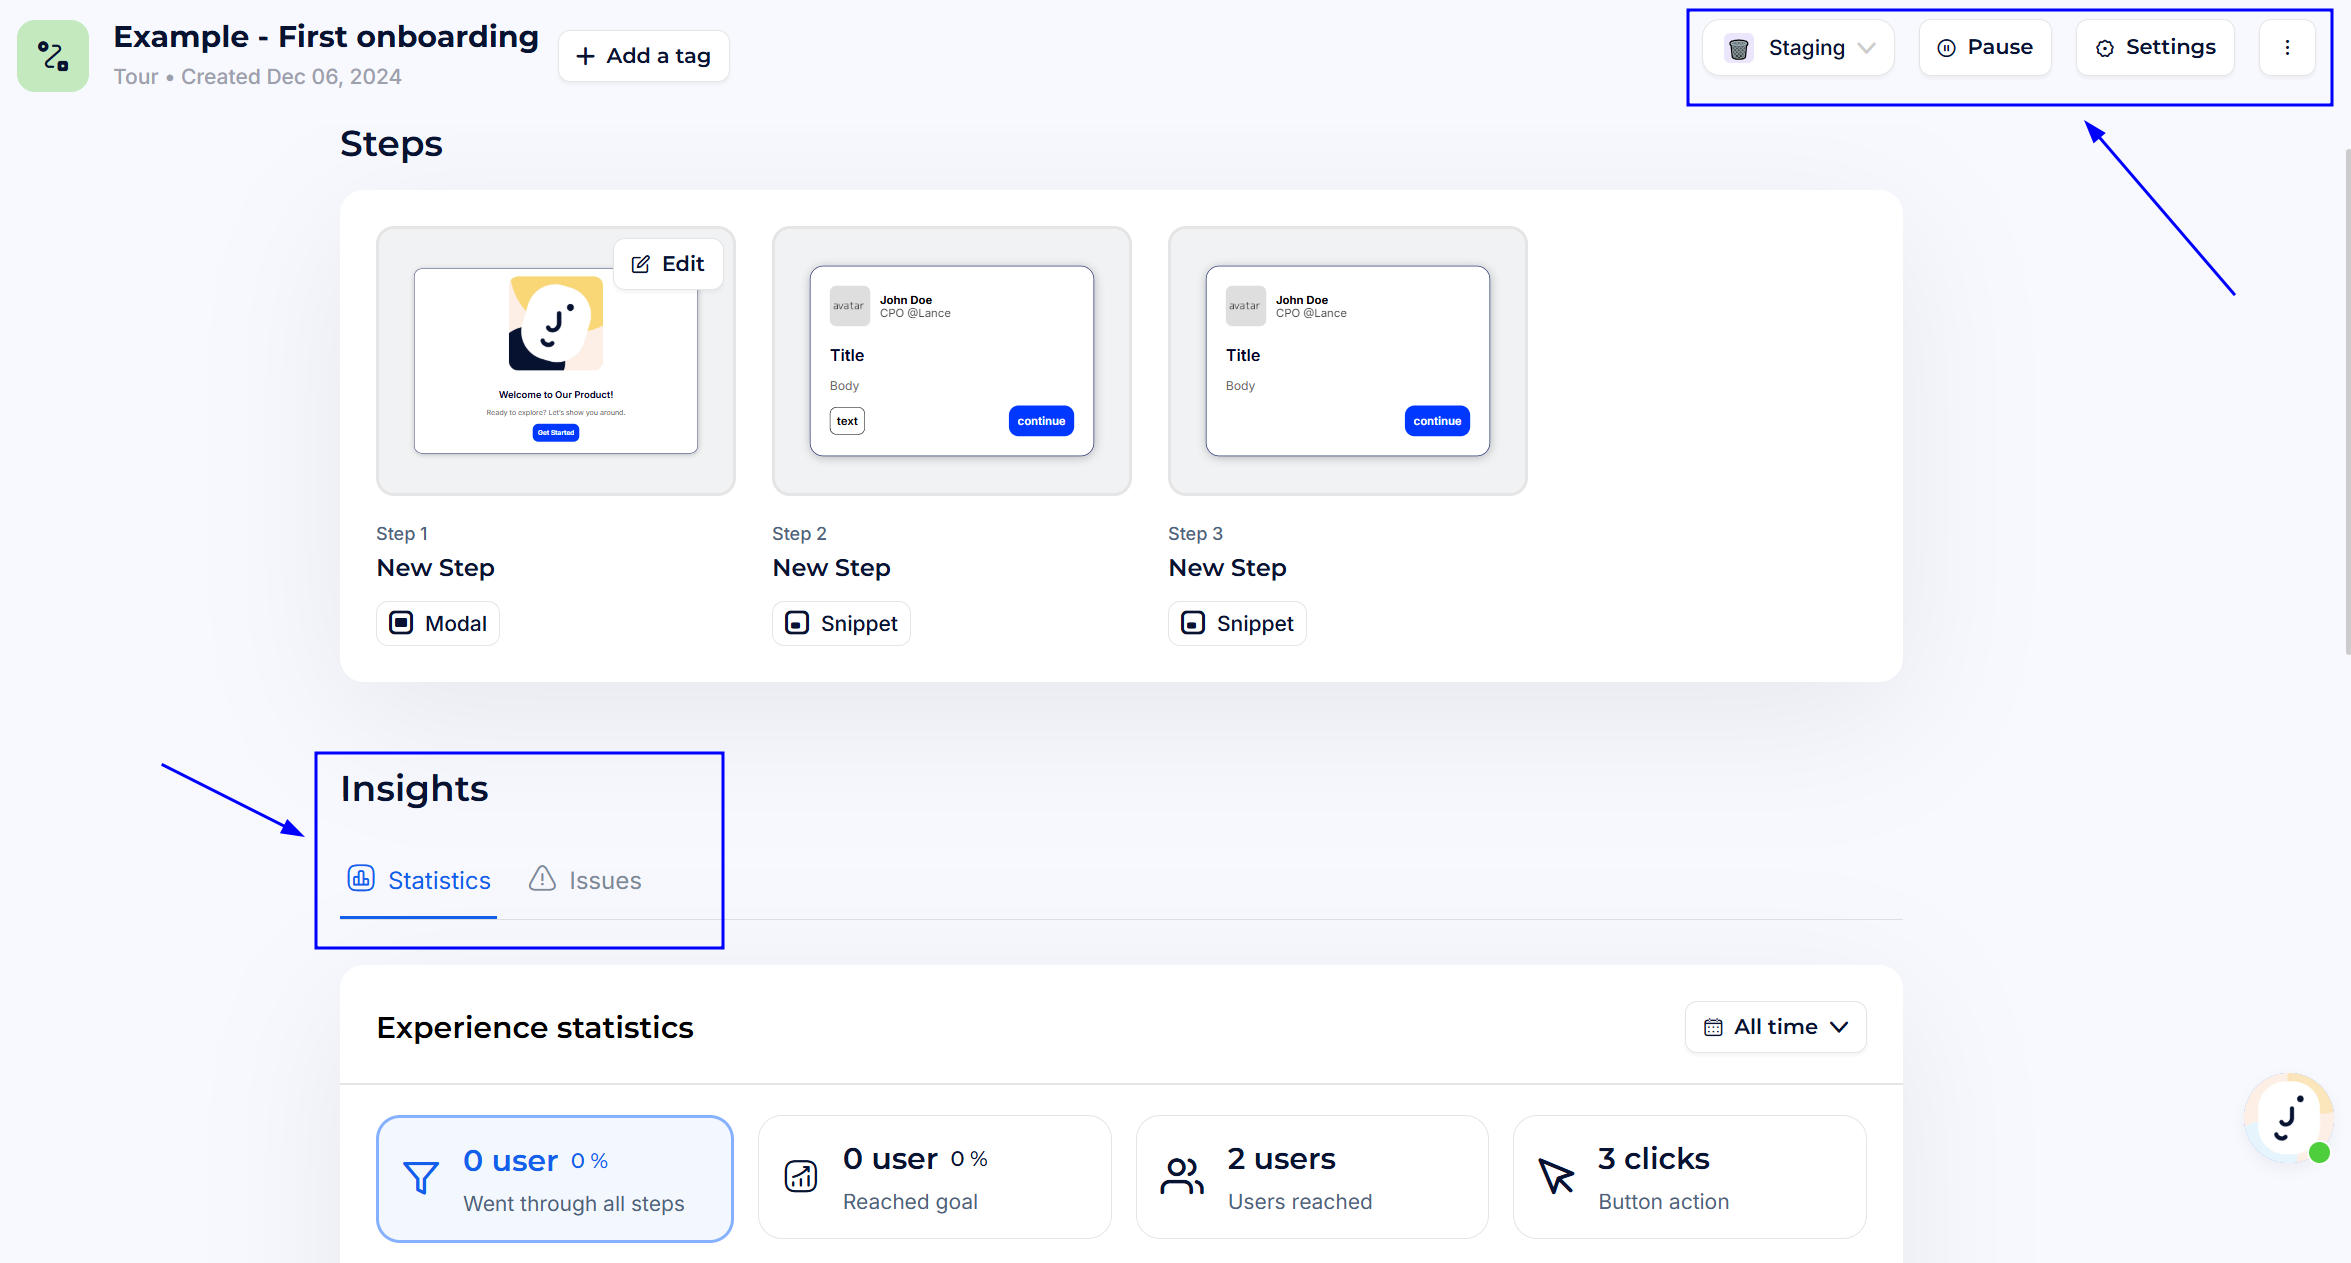
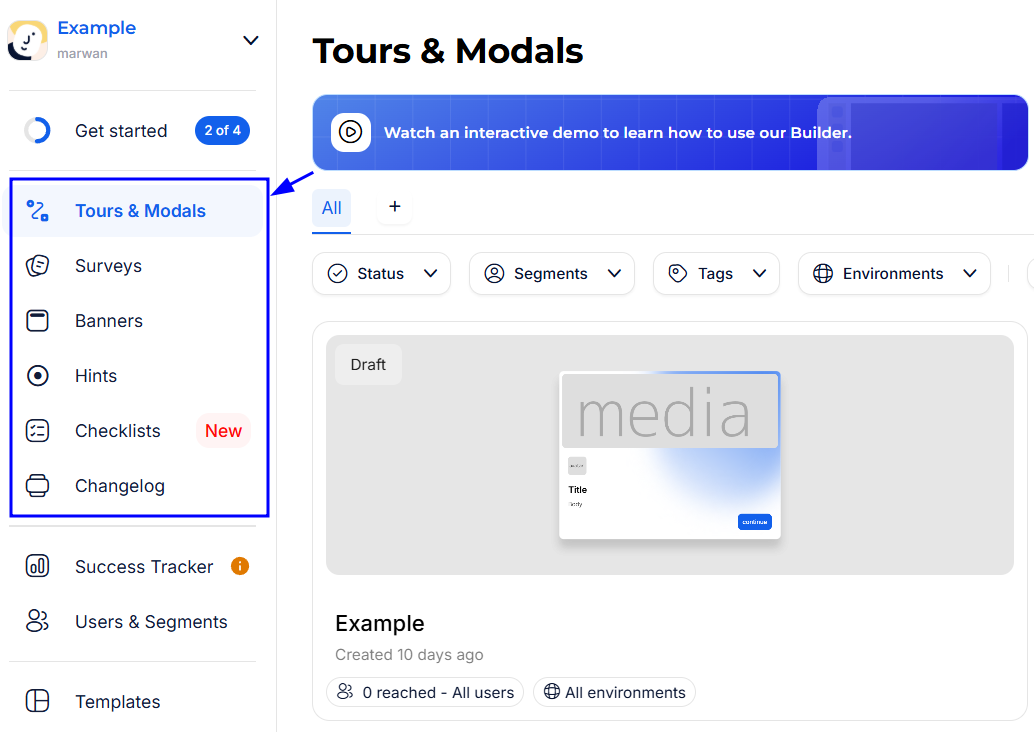
| To maximize attention for an important update | Tour/Modal (Flow) | High visibility and clear call-to-action. |
| To collect feedback in context | Survey (Flow) | Trigger after actions to capture intent. |
| To keep users oriented and progressing | Checklist (Flow) | Break milestones into trackable steps. |
| An always-on help or info surface | Static Self-Serve | Users open it when they need it; it stays available. |
| To reduce confusion at specific UI points | Hints (Self-Serve) | Lightweight guidance, no interruption. |
| To centralize help, docs, and contact | Resource Center (Self-Serve) | One place users can always find support. |
| To broadcast ongoing improvements | Changelog (Self-Serve) | Users can browse updates anytime. |